You’ve spent hours on your decorating project but no matter what you do, it just doesn’t look the way that you want. Or maybe your approach to home decorating feels more like a mess than a well-polished plan. Does this sound familiar?
If so, you’re not alone.
One of the most common ways people redecorate is by taking too much of what they see on Pinterest or in stores and trying to replicate them in their own space. This sounds great in theory. But in practice, it results in mismatched decor or the wrong choices leading to wasted time, energy and money.
There’s an easy (and fun) fix:
Experts agree that the secret to success is having a clear vision.
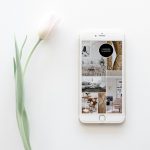
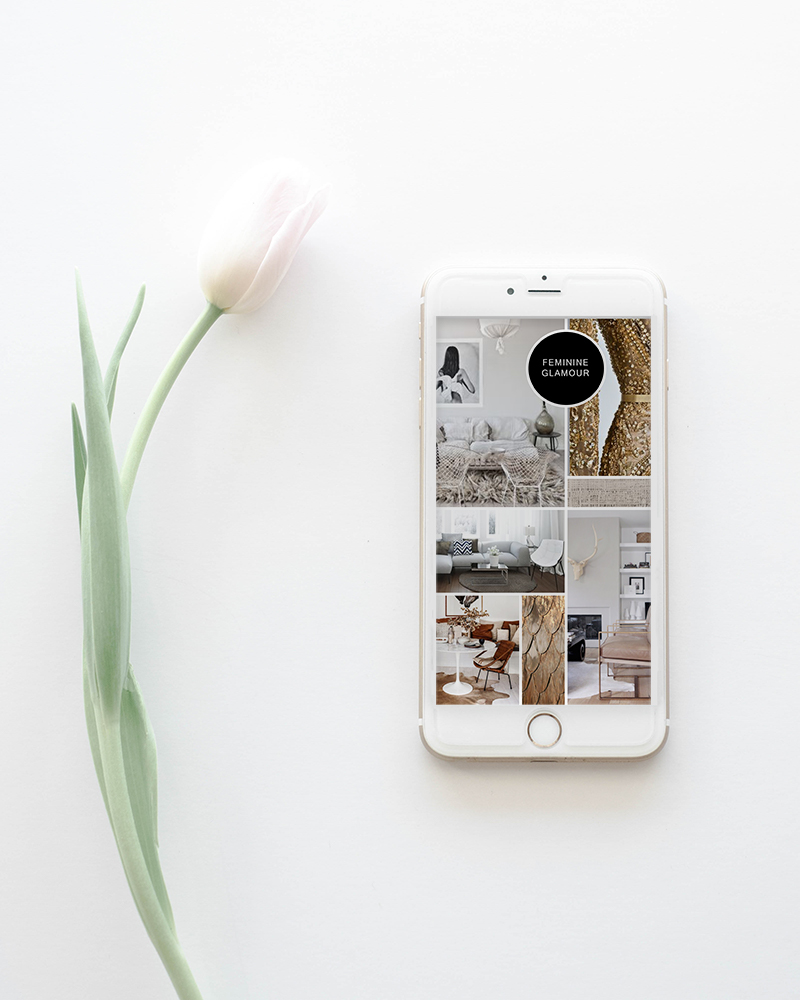
That’s why one of the first things you’ll receive from your designer is this: a vision or mood board.
It not only helps you visualize your space but gives you clarity in your design direction. And while the idea of creating a mood board isn’t new, it’s easy to forget what an invaluable tool it is to set clear goals and help make your dream design a reality.
Whether you’re starting a new project or dreaming big, a vision board is crucial to conveying your design ideas clearly and taking your project to the next level. Not only is it an incredibly beautiful to look at but the process of putting the board together helps spark creativity and new ideas.
If you’re ready to eliminate hard decisions and decorate with confidence and clarity, follow these simple steps to create your vision board like a pro.
Step 1. Collect Images
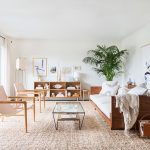
Be strategic about what images go on the inspiration board, and pin them with purpose. Collect images of the room you want to decorate. For example, if you are remodeling a bedroom, only select bedroom images. Focus on collecting images that represent the overall ambiance that you want and that makes to you say, “I want to live there!”
Looking for free mood board templates? You can find them here.
Step 2. Select Your Favorite Images
Find a common thread in your images. Then, pick your top 3-4 favorite images from those and add them to your mood board.
Step 3. Add Images That Enhance The Mood
Next, select a few other images that help illustrate your vision such as textures, finishes, quotes, abstract images or anything else. Add them to your board.
Step 4. Create A Color Scheme
Pick 2-3 colors that you want in your space. This could be from your existing or new color scheme and inspired by the paint color, finishes, accessories or fabrics. Add the colors to the mood board.
Step 5. Describe Your Ideal Space
The best way to clarify your vision is to also use words, as well as images. In a writing exercise, describe your ideal interior by answering these questions: What does your dream home look like? How do you feel when you’re there? What is the mood? What is the main way you want visitors to feel when visiting your home?
Step 6. Compose A Design Concept
Select 2-3 words that recur in your writing exercise, are your favorite or speak to you about the overall mood. This will be your design concept. For example, inviting minimal retreat or casual Californian.
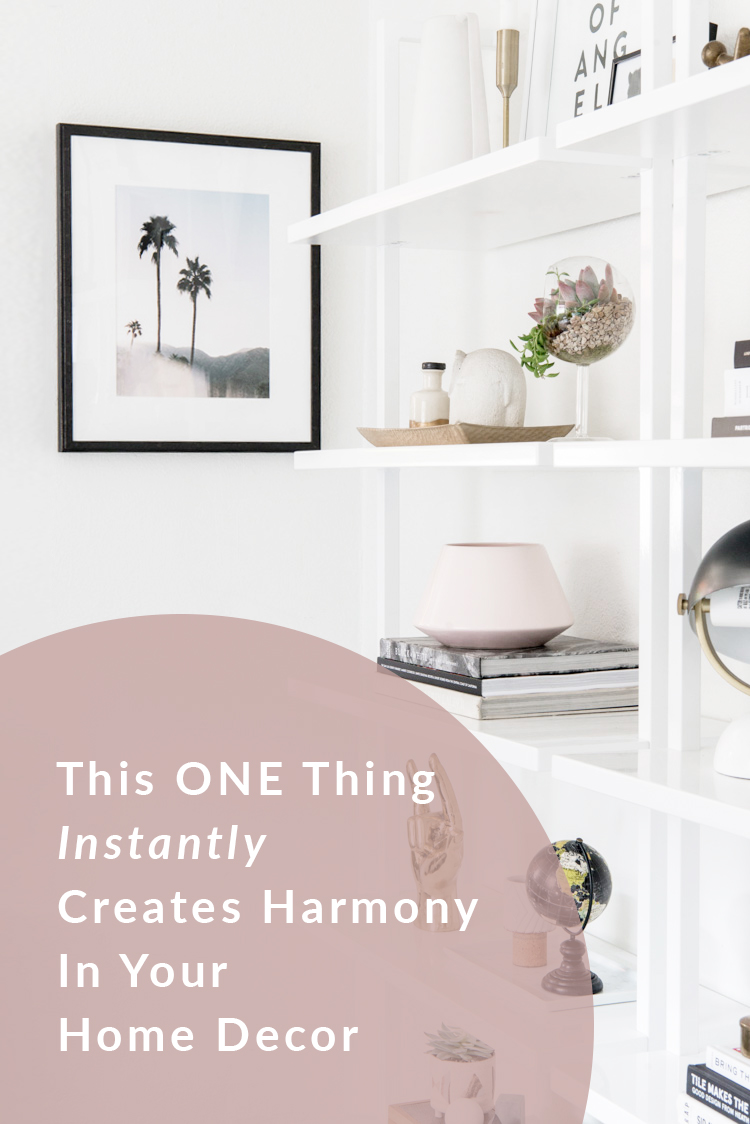
Step 7. Display Your Mood Board
Lastly, where you hang your vision board is just as important as making it. You want it to be in a place where you’ll see it to visualize your dreams to help keep your design on the right track.
FREE BONUS: DECORATOR’S PLAYBOOK
Get your free copy of the complete guide to decorating and take your home to the next level, guaranteed!
After you’ve read this post, tell me: Have you created a mood board? Do you find it helpful?
Share it in the comments below. I’d love to hear from you and your insight could help someone else.
If you have friends, family or colleagues who are looking for the latest shade, share this post with the links below.